
I've been buying photo prints from Mpix for several years now. They make lovely prints on thick photo paper, and their colors don't fade quickly like a lot of cheaper labs. When I invest my time and money to order printed pictures, I want those pictures to last a lifetime.
Using the Mpix Tap To Print app to order pictures directly from your iPhone is really simple. Mpix has limited the ordering options for the iPhone app so you don't have to do a lot of decision making when you order iPhone prints.
I like to think of the prints I make from my iPhone as if they were beautiful Polaroid snapshots, so I like to print mine in a square 4x4 crop.
I decided to order some prints of Toby and his monkey to add to my growing collection of iPhone prints.

Below is a quick tutorial to show you how easy it is to order your own prints, straight from your iPhone.

- To use Mpix Tap To Print you will first need to download the app, then create your own Mpix account if you don't have one yet.
- I like to upload my pictures first, since it might take a little while depending on how many images I decide to print.
- To upload your photos to Mpix, you just need to tap the screen. You can then choose images from your iPhone, or even from Facebook and Instagram if you log into those accounts.
- Once you've chosen your pictures, click "done".

- At this point click "start upload." Like I mentioned before, if you have selected a lot of images, this may take a little while.
- You will need to make sure your phone remains on, without exiting the app, to keep your upload from being interrupted. If the app accidentally closes, it's not problem. Just open the Mpix app again and click start upload. It will start from wherever it left off uploading.
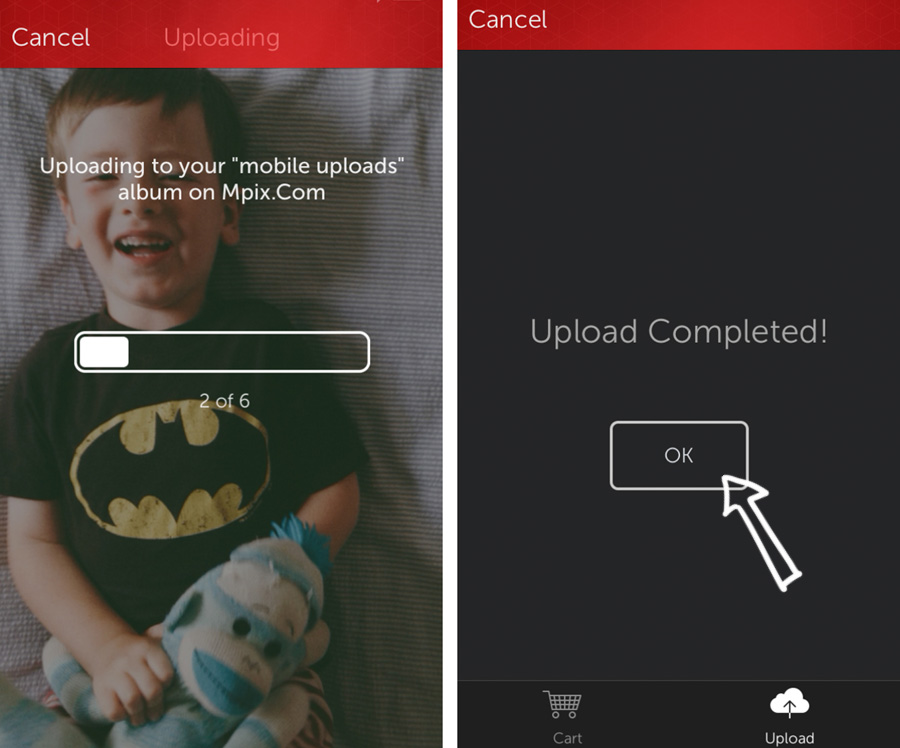
- Once your upload is complete, you can select "ok".
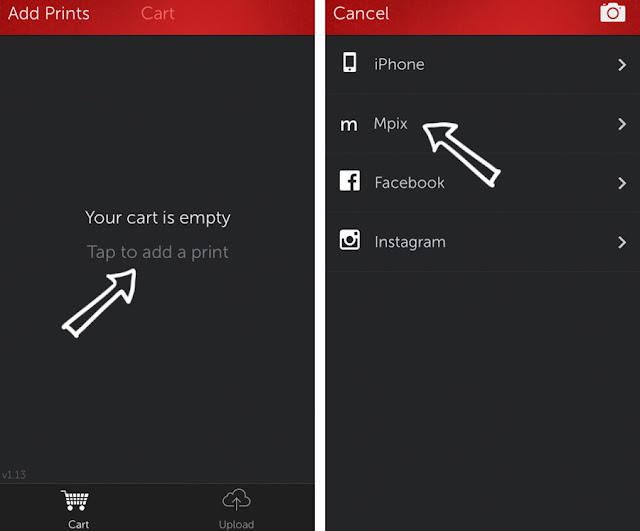
- Now, select the cart option at the bottom of the screen and then tap the screen to add prints to your cart.
- Select the Mpix folder to find the images you have just uploaded.

- Next, select the images you want to order as prints.
- Now you have the option to choose print sizes. If you click on "4x4" in the upper left hand corner, you can see all the sizes available on the mpix tap to print app.
- If you want more size options (or if you want to add a white boarder, backing or lustre coating), you'll have to log into your Mpix account on a computer and order from there.

- Select the image size you want printed.
- Add any more images you want to order, by selecting the red "add" at the bottom right of the screen.
- Now you are ready to checkout! All you need to do is confirm your account and payment info and in a few short days, your prints will show up in your mailbox!


